Hello there! Do you own a website? Then you know that the most important requirement for a successful website is a good web hosting service. Owners of all the popular websites select their hosting companies very carefully!
Recently, many people recommended me to review GreenGeeks Hosting. So, I gave it a shot and purchased hosting their hosting. This is not a review article, though. You can expect that to arrive within the next 2-3 months. So stay tuned!
This article is for beginners who wish to buy hosting from GreenGeeks. In this article, I am going to show you the step-by-step process of purchasing hosting from GreenGeeks.
So, with no further ado, let’s get started.
Video Guide
For those who understand Hindi can watch this video
Steps to purchase the hosting from GreenGeeks
Step 1:
First, we will visit the website of GreenGeeks and hit the ‘Get Started’ button.

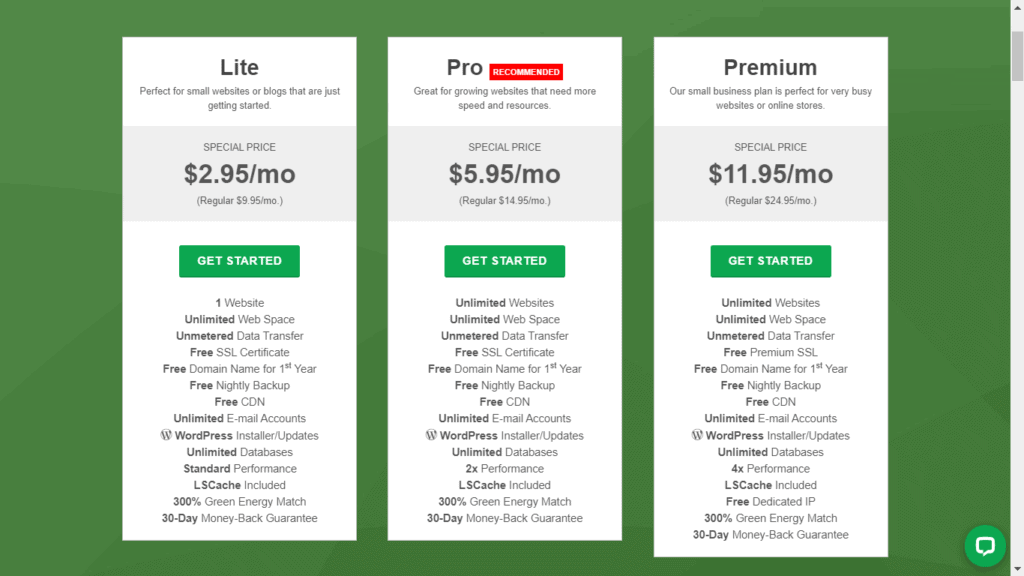
Next, we will choose a hosting plan according to our requirements. The prices keep on fluctuating. So you might see different rates on the website right now!
I am going to choose the ‘Lite Plan’ because almost all its features are like the Pro Plan. The only difference is that Pro Plan offers unlimited websites support, and enhanced performance!
Step 2:
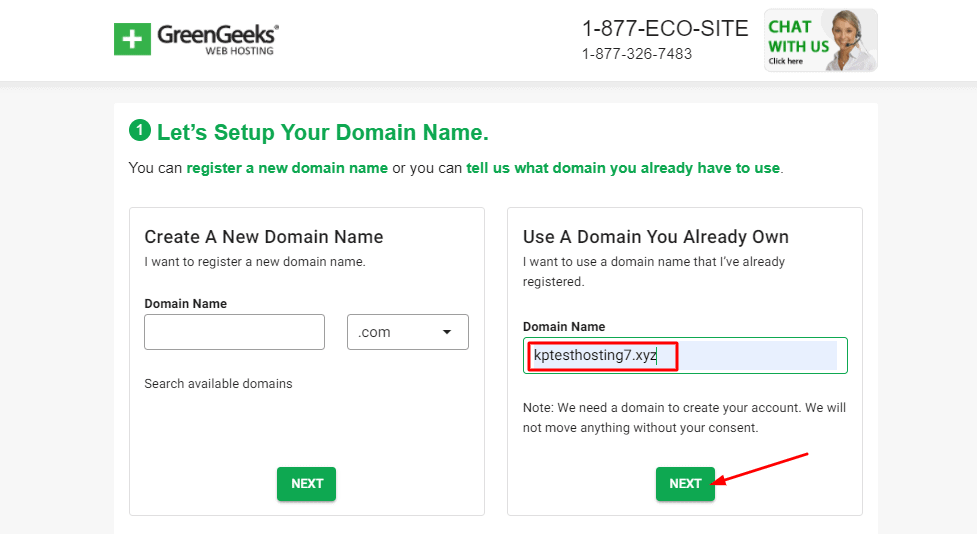
Now, the next step is setting up our domain name. We can either register a new domain name on GreenGeeks, or add an existing domain name. I recommend buying domain from established domain registrars. I already have a domain, so I’m going to add it here.
Step 3:
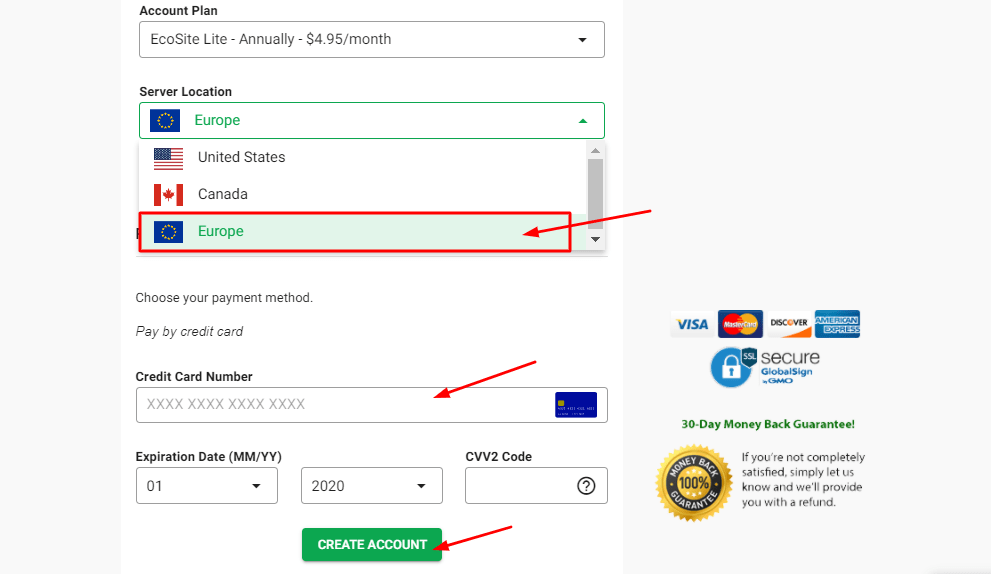
Now, we will fill in the basic account information, package information and under server location, make sure you select ‘Europe’ because it’s the nearest to India.
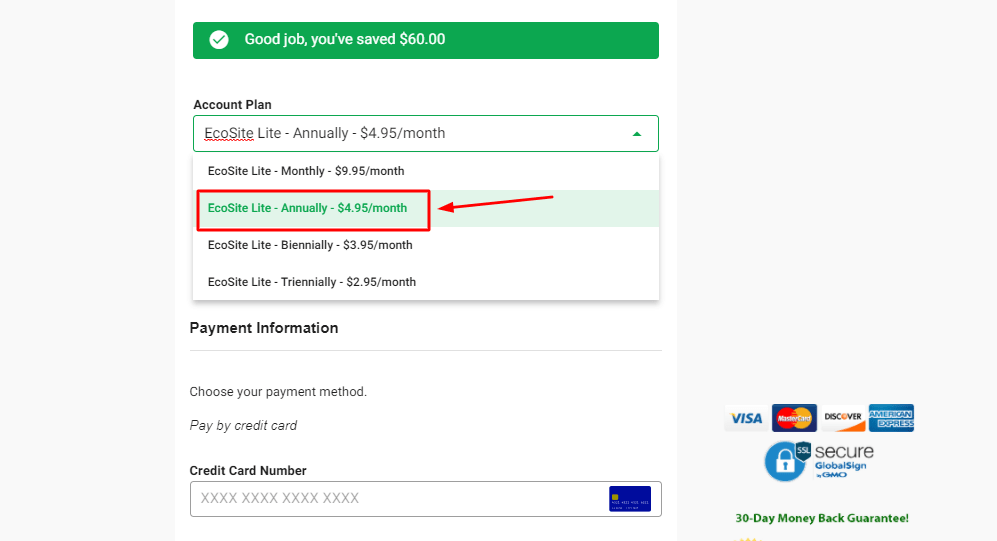
If you want an Annual plan, you can select it under the ‘Account Plan’ tab.
Finally, we will add our Credit Card details and hit the ‘Create Account’ button.
Step 4:
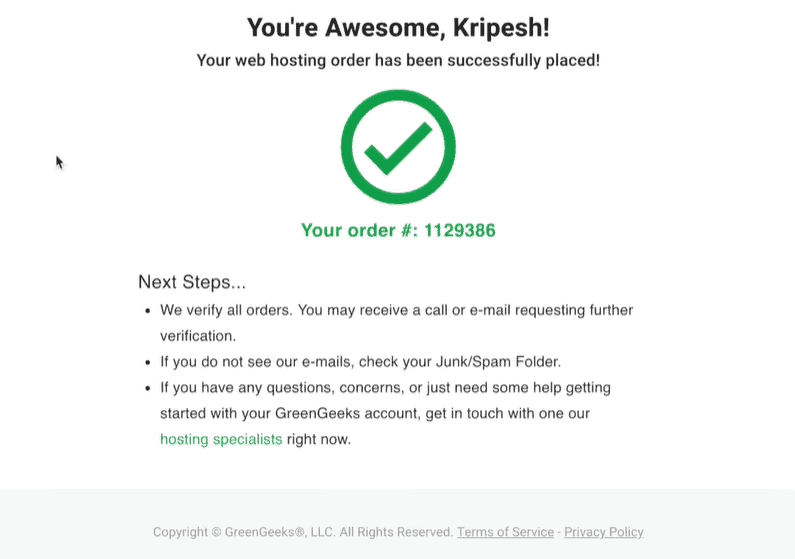
After completing our payment, we will receive a confirmation message that includes the order number. Once the verification is complete, we can log into our hosting account.
Step 5:
Finally, we will receive a mail comprising our login details after they complete the verification. The dashboard looks something like this.
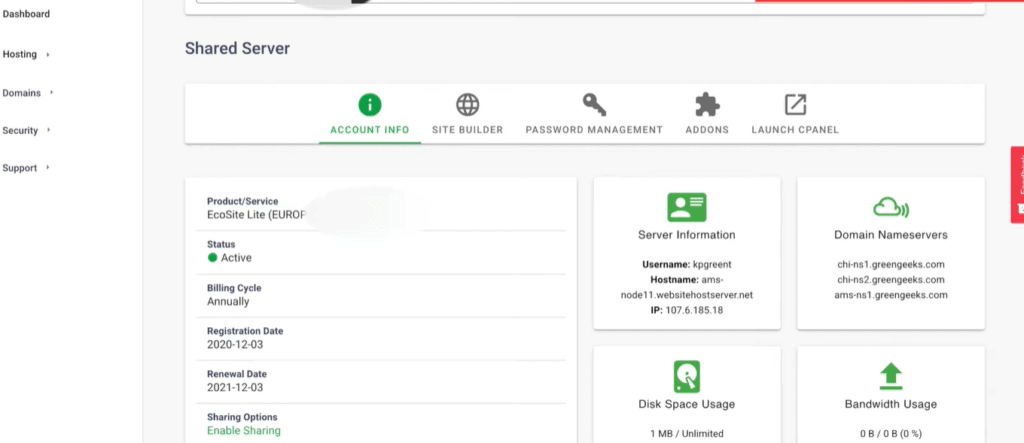
I found the interface of GreenGeeks to be quite clean. We can view and manage our hosting accounts, change nameservers, and launch cPanel as well!
So, this is how you can purchase hosting from GreenGeeks. The setup process takes up a lot of time, though. In my case, it took up 8 long hours! Customer Support can also be improved to some extent.
If you want a detailed review of GreenGeeks, then subscribe to this blog and I’ll try to bring it for you as soon as possible. This is Kripesh signing off! Take care and keep learning!

